Using Makeup Sponge Better Than an Ordinary Blender: Mastering the Hard Surface
A makeup sponge is a blender designed with multiple surfaces, curves, or angles to help apply makeup more precisely and efficiently. Unlike traditional rounded or teardrop-shaped sponges, a makeup blender typically features a variety of edges, flat sides, and pointed tips to cater to different areas of the face, such as the cheeks, chin, and temples. This article will show you how to use it like a “pro,” not by just tapping it on your skin, but by using it for blending makeup.
It was first introduced in 2002 and hit the fashion industry shortly after due to its precision and efficiency in makeup application. It helps achieve a flawless and natural makeup look that was impossible to attain.
What is Beauty Blender For?
Since then, blenders have been introduced in multiple sizes and shapes, making them even more functional and appropriate for makeup application. They can be used for literally everything in your makeup bag, whether liquid or powder foundation, sunscreens, BB creams, tinted moisturizers, or concealers, or you may apply them to correct your makeup like sparse eyeliners, eye shadows, lip colors, or to remove excess makeup.
Multiple usage saves money by preventing the need to buy various applicators. It is also time-saving, as you can flow through your makeup application smoothly and complete it in less time.
How To Use The Makeup Sponge
Makeup sponges are the best product for creating a flawless foundation base or perfect contouring. If you do not want streaks made by a brush, use a beauty blender that blends product smoothly and evenly into your skin, brushing away excess makeup.
You can apply liquid and powder makeup with real techniques, helping you use them like a ‘pro’ without prior expertise.
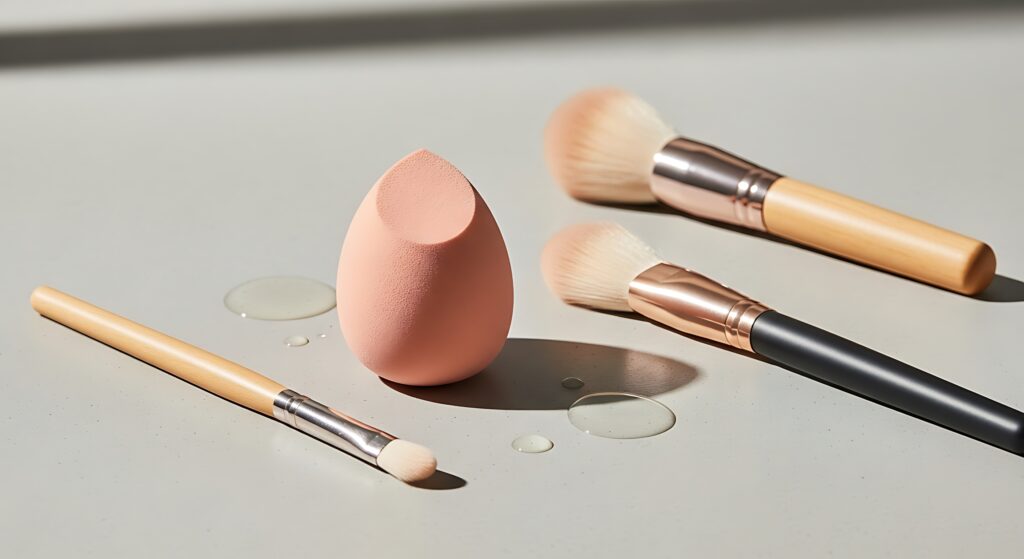
A makeup sponge has multiple surfaces, including flat sides, curved edges, or even pointed tips. These allow better access to every part of the face and appropriately set the product.

Flat surfaces are ideal for applying makeup or foundation evenly across large areas like the cheeks or forehead.
Pointed tips are for pointy areas such as the nose, chin, eyes, and temple areas; the specially designed surface allows you to leave as much product as needed and blend it in all directions.
Curved or Angled Sides bend well along your face curves, making contouring easier or applying powder or cream blush conveniently around cheekbones. It seamlessly blends foundation across the jawline or lower part of your cheeks, which appears more angular than the ‘apple of your cheeks.’
Versatile Application: A makeup sponge is best for applying all makeup products, such as liquid foundation, concealer, powder, blush, and contour. Its surface distributes powder and liquid evenly and is not left stuck into the sponge due to its special design, while, preventing excess shine or product accumulation.
Makeup Sponge Uses:
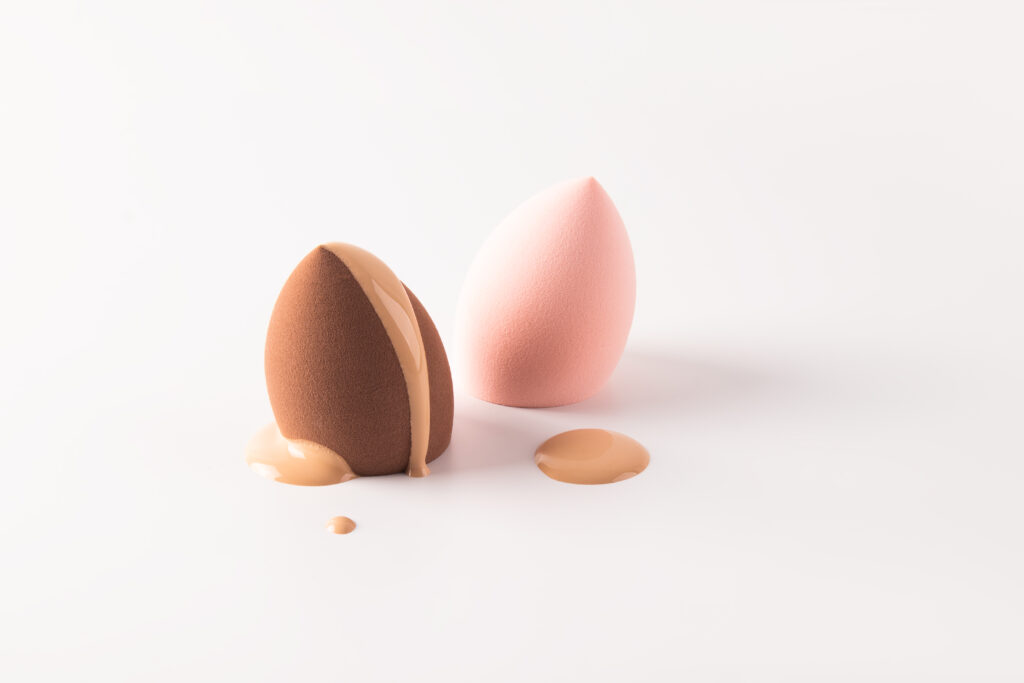
This egg-shaped and ultra-soft makeup sponge is best for control and versatility in applying or blending. Use a damped or wet makeup sponge, as it increases its efficiency and reduces makeup absorption.
The application process is simple, with just bouncing it across your skin. It is not as complex as makeup brushes, requiring unique strokes with every shape, but it makes it fun to play by swiping across the skin.
Avoid stroking; it will create streaks or lines, and you might question its functionality.
Use gentle padding and bouncing creams, foundations, concealers, or blushes, and watch how perfectly the perfect amount of product sits beautifully in your skin.
The best advantage of using a makeup blender is that it does not let the excess makeup sit on your skin, resulting in an airbrushed, glamorous look you’ve always wanted.
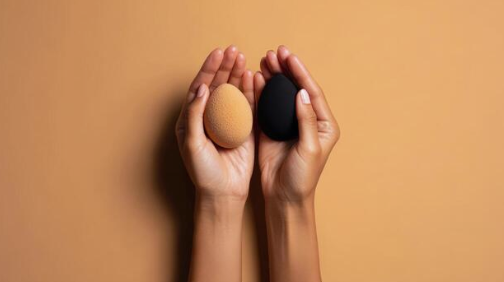
The smaller beauty blenders offer control for getting into small areas and work to hide flaws completely. They enhance coverage and seamless blending compared to makeup brushes and traditional round or teardrop sponges.
Harder To Clean: Makeup Sponge Wash
The angled and hard surface of a beauty sponge needs care and gentle handling notonly for application but also for its maintenance.
Due to its complex shape, cleaning a makeup sponge or beauty blender might be trickier than cleaning a simpler design. Its unique shape, sharp angles, and tips may hold onto makeup more tightly, requiring special cleaning techniques.
Makeup Sponge Cleaner DIY
Most makeup sponge molds have a longer life span than any other makeup applicator; however, they may wear out over time, especially if used and cleaned frequently. Depending on the material, they need a regular cleaning and care routine due to their delicate and absorbent surface.
The makeup sponge cleaning process is as easy as 1,2,3,….and can be done within a few seconds. Here is how you do it:
Washing with Soap
Soak the makeup sponge in warm water for ten to thirty minutes, depending on the amount, and add mild hand wash, dishwasher soap, or baby shampoo if you want to avoid harsh chemicals. Let it sit for half an hour until all the impurities come out of the water. Take it out, squeeze it with tap water, and let it dry.
If you still want to remove the residual soap or your makeup sponge is a bit hard to the touch, try soaking it in water for 6-12 hours. The water will remove any soap left in the beauty mold, and you can have a brand-new mold.
Washing with Vinegar
Makeup sponge molds can also be washed with water and vinegar. However, as you use them on your face’s delicate skin, avoiding soaps when cleaning them is desirable. Over time, the soap accumulated will drastically affect your skin, and you might not know the cause of your skin breakage or damage.
Washing your makeup sponge with warm water after every use is best for your skin. They are not disposable, and if you handle them correctly and clean them regularly, you can use them for years.
How to Disinfect A Makeup Sponge?
Cleaning makeup sponges is ideal if you want a hygienic beauty routine that keeps your skin young and revitalized. It also boosts the life span of your makeup sponges and gives them more utility while they are in use.
Try using Makeup remover or micellar water, which are made for the skin. Do not use harsh soaps or shampoos to avoid skin damage from the remaining parts in the sponge. You can also use an all-purpose cleaner if you want or i the stains in the sponge are too strong.
Here is a very simple guide that, once you learn it, will always stay with you, making cleaning easy.
Ingredients:
Liquid Castile Soap – cleans the sponge without harsh chemicals.
Lemon juice (optional) – helps break down makeup and oils trapped in the sponge.
Water – for dilution and cleaning.
Instructions:
In a small bowl, mix 1 part liquid soap with 1 part water to dilute it. You can adjust the quantity depending on how many sponges you are cleaning.
Run your makeup sponge under warm water until it’s fully saturated.
Submerge your dirty makeup sponge in the mixture and gently squeeze it to absorb the liquid. Let it soak for about 5-10 minutes.
Remove the sponge from the water and gently massage it to break down the makeup residue. Squeeze it under running water until the water runs clear.
Rinse and Dry:
Allow the sponge to cool, then rinse again under warm water. Squeeze out excess water and let the sponge air dry in a well-ventilated area.
This method makes sure that makeup sponges are thoroughly cleaned, disinfected, and ready for reuse.
Do’s
Prefer using makeup remover or micellar water
Shift to multi-purpose soap only when needed
Let the sponge dry itself
Indirect sunlight can be suitable for drying
Always use warm water
DON’Ts
Do not use dishwashers, shampoos, or similar chemicals
Do not heat sponges in the microwave
Do not wash in the washing machine
Do not apply bleaches directly to sponges
Stop using shampoos, dish soaps, or regular liquid soaps because they contain potent ‘Alkaline compounds and high ‘pH.’ When you clean sponges with these soaps, many harmful chemicals reside in them, and when they come in contact with your skin, they create severe damage.
If you warm your makeup blender, the bacteria will likely multiply and become difficult to remove. The temperature can also harden the texture of your sponge, making it difficult to use.
Cleaning sponges with ordinary clothes can also contaminate its surface beyond limits.
Bleaches are potent cleaning agents, and if you apply them directly to your makeup sponge, you treat it like wood or any rigid surface. You cannot compare your beauty blender with a wooden surface, can you?
PRO TIP:
A makeup sponge is an excellent tool for those looking for convenience and an effective blending sponge, and due to these qualities, it is a permanent part of every girl’s bag. Its revolutionary shape helps with precise Application, especially for contouring and reaching tight face areas. You must learn what angle works on what skin surface to apply makeup correctly. You might think its maintenance is challenging due to its intricate design, but this is not true. Learning three simple steps will keep your blenders clean and ready for the next application.